嵌入式工作流管理(Workflow management in Embed)#
Feature availability
Embed requires an embed license. For more information about when to use Embed, as well as costs and licensing processes, refer to Embed on the n8n website.
在管理跨团队或组织的嵌入式 n8n 部署时,你可能需要为多个用户运行相同(或类似)的工作流。有两种可用的选项来实现这一点:
🌐 When managing an embedded n8n deployment, spanning across teams or organizations, you will likely need to run the same (or similar) workflows for multiple users. There are two available options for doing so:
| 解决方案 | 优点 | 缺点 |
|---|---|---|
| 为每个用户创建一个工作流 | 工作流启动方式没有限制(可以使用任何触发器) | 需要管理多个工作流 |
| 创建一个单一的工作流,并在执行时传递用户凭证 | 简化工作流管理(只需修改一个工作流) | 要运行工作流,您的产品必须调用它 |
/// 警告 本文档中引用的 API 可能随时更改。请确保在每次版本升级时检查其是否仍能正常运行。 ///
每个用户的工作流(Workflow per user)#
一般步骤如下:
🌐 There are three general steps to follow:
- 获取每个用户的凭据,以及根据工作流程可能需要的任何其他参数。
- 为此用户创建 n8n 凭据。
- 创建工作流。
1. 获取用户凭据(1. Obtain user credentials)#
在这里,你需要获取此用户必须进行身份验证的任何节点/服务的所有凭据,以及特定工作流所需的任何其他参数。所需的凭据和参数将取决于你的工作流以及你想要执行的操作。
🌐 Here you need to capture all credentials for any node/service this user must authenticate with, along with any additional parameters required for the particular workflow. The credentials and any parameters needed will depend on your workflow and what you are trying to do.
2. 创建用户凭据(2. Create user credentials)#
在获取所有相关凭证详细信息后,你可以继续在 n8n 中创建相关的服务凭证。这可以通过编辑器界面或 API 调用来完成。
🌐 After all relevant credential details have been obtained, you can proceed to create the relevant service credentials in n8n. This can be done using the Editor UI or API call.
使用编辑器 UI(Using the Editor UI)#
- 从菜单中选择 证书 > 新建。
- 使用下拉菜单选择要创建的凭证类型,例如 Airtable。
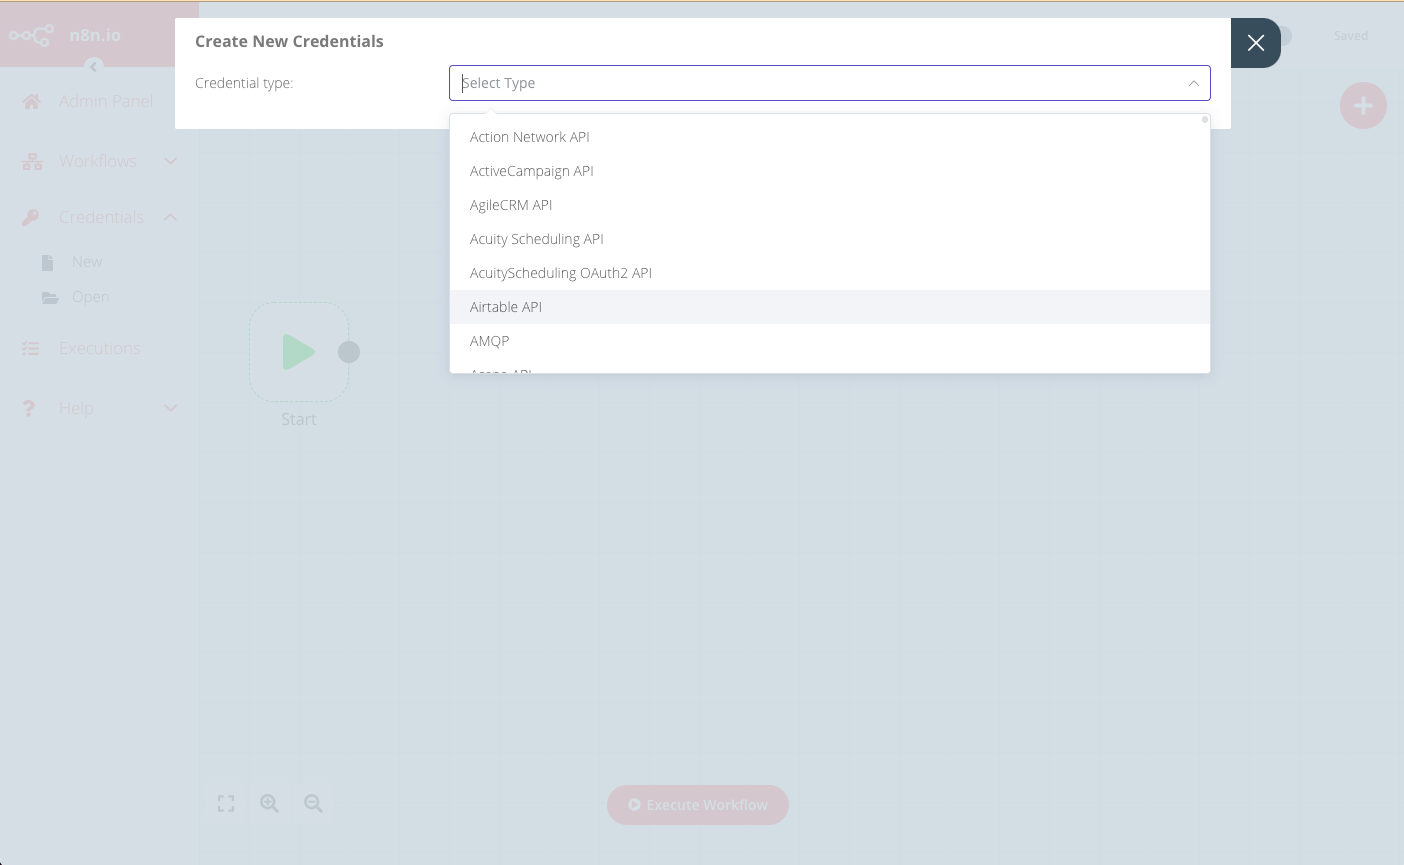
- 在 创建新凭据 模态中,输入用户的相应凭据信息,并选择将拥有这些凭据访问权限的节点。
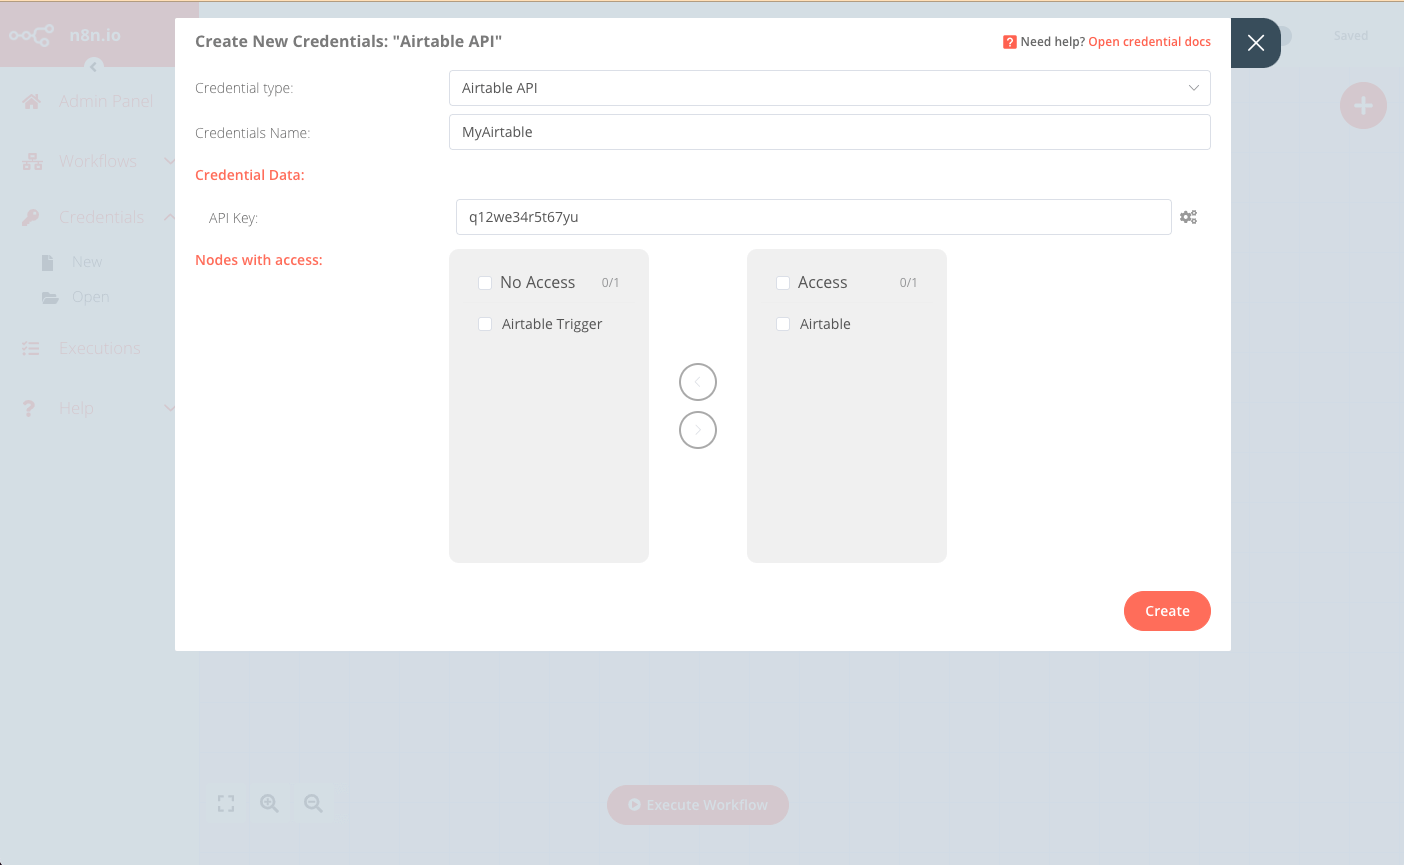
- 点击 创建 以完成并保存。
使用 API(Using the API)#
编辑器 UI 使用的前端 API 也可以调用以实现相同的效果。API 端点的格式为:https://<n8n-domain>/rest/credentials。
例如,要创建上述编辑器 UI 示例中的凭据,请求应为:
🌐 For example, to create the credentials in the Editor UI example above, the request would be:
1 | |
包含请求正文:
🌐 With the request body:
1 2 3 4 5 6 7 8 9 10 11 12 | |
响应将包含新凭据的 ID,你将在为该用户创建工作流时使用该 ID。
🌐 The response will contain the ID of the new credentials, which you will use when creating the workflow for this user:
1 2 3 4 5 6 7 8 9 10 11 12 13 14 15 16 17 18 | |
3. 创建工作流程(3. Create the workflow)#
最佳实践是创建一个“基础”工作流,然后复制该工作流,并根据每个新用户的凭据(以及任何其他详细信息)进行自定义。
🌐 Best practice is to have a “base” workflow that you then duplicate and customize for each new user with their credentials (and any other details).
你可以使用编辑器 UI 或 API 调用来复制和自定义模板工作流。
🌐 You can duplicate and customize your template workflow using either the Editor UI or API call.
使用编辑器 UI(Using the Editor UI)#
- 从菜单中选择 工作流 > 打开,以打开要复制的模板工作流。
- 选择 工作流程 > 重复,然后为这个新工作流程输入名称并点击 保存。
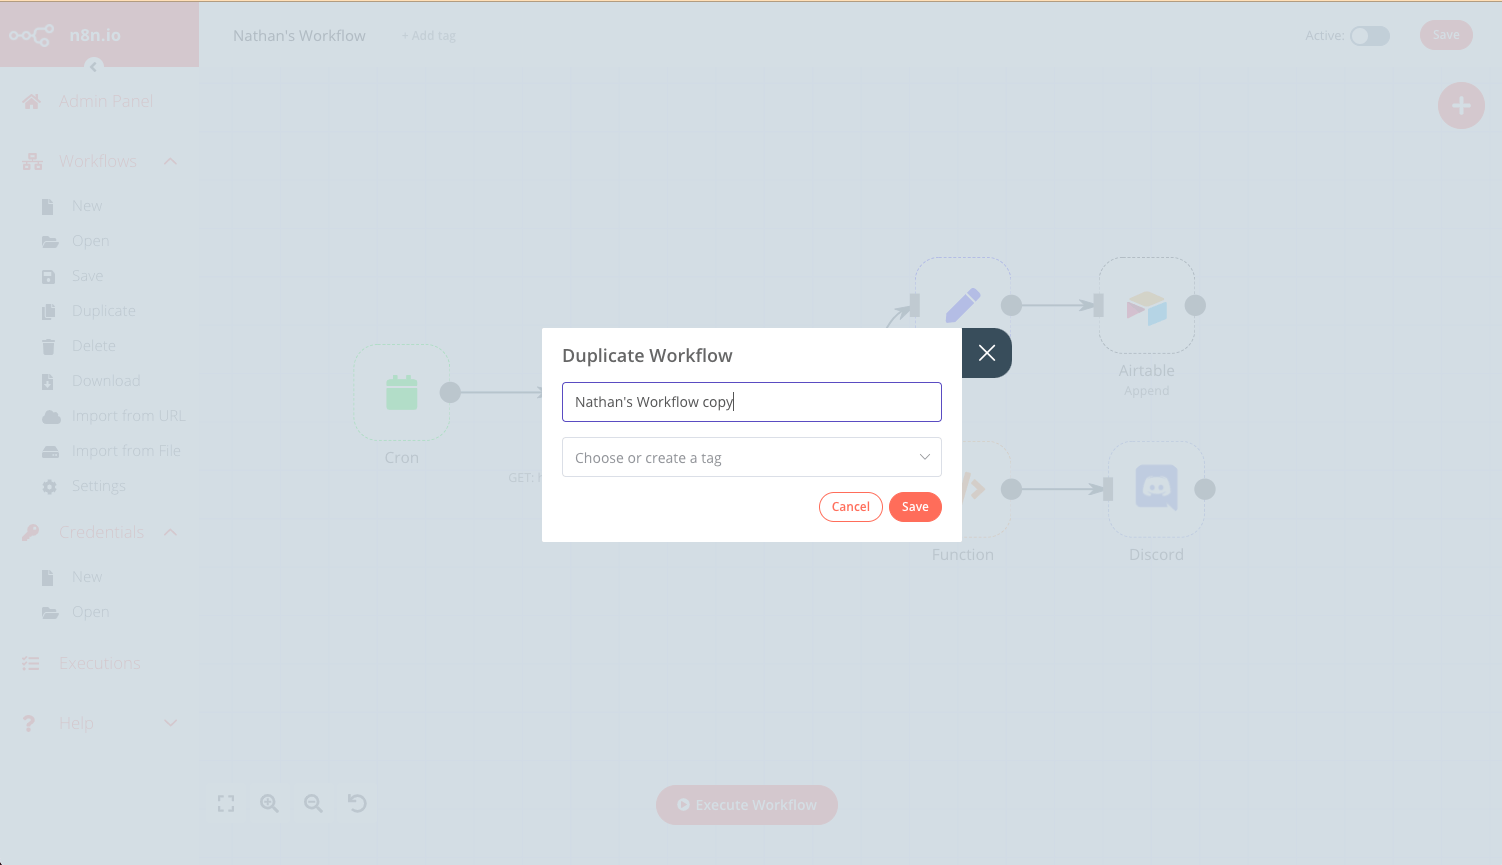
- 更新所有相关节点,使其使用此用户(如上所述)的凭据
- 保存此工作流,并使用右上角的切换按钮将其设置为激活。
使用 API(Using the API)#
- 使用端点
https://<n8n-domain>/rest/workflows/<workflow_id>获取模板工作流的 JSON
1 | |
响应将包含所选工作流的 JSON 数据。
🌐 The response will contain the JSON data of the selected workflow:
1 2 3 4 5 6 7 8 9 10 11 12 13 14 15 16 17 18 19 20 21 22 23 24 25 26 27 28 29 30 31 32 33 34 35 36 37 38 39 40 41 42 43 44 45 46 47 48 49 50 51 52 53 54 55 56 57 58 59 60 61 62 63 64 65 66 67 68 69 70 71 72 73 74 75 76 77 78 79 80 81 82 83 84 85 86 87 88 89 90 91 92 93 94 95 96 97 98 99 100 101 102 103 104 105 106 107 108 109 110 111 112 113 114 115 116 117 118 119 120 121 122 123 124 125 126 127 128 129 130 131 132 133 134 135 136 137 138 139 140 141 142 143 144 145 146 147 148 149 150 151 152 153 154 155 156 157 158 159 160 161 162 163 164 165 166 167 168 169 170 171 172 173 174 175 176 177 178 179 180 181 182 183 184 185 186 187 188 189 190 191 192 193 194 195 196 197 198 199 200 201 202 203 204 205 206 207 208 209 210 211 212 213 214 215 216 217 218 219 220 221 222 223 224 225 226 227 228 | |
- 保存返回的 JSON 数据,并更新新用户的相关凭据和字段。
- 使用更新后的 JSON 作为请求体,在端点
https://<n8n-domain>/rest/workflows创建一个新的工作流
1 | |
响应将包含新工作流的 ID,你将在下一步中使用该 ID。
🌐 The response will contain the ID of the new workflow, which you will use in the next step.
- 最后,发布新的工作流程:
1 | |
在你的 JSON 负载中传递附加值 active:
🌐 Passing the additional value active in your JSON payload:
1 2 3 4 5 | |
单工作流程(Single workflow)#
实现此方法需要遵循四个步骤:
🌐 There are four steps to follow to implement this method:
创建工作流(Create the workflow)#
此工作流的细节和范围会根据具体用例而有很大差异,但有一些设计实现需要注意:
🌐 The details and scope of this workflow will vary greatly according to the individual use case, however there are a few design implementations to keep in mind:
- 此工作流必须由 Webhook 节点触发。
- 传入的 Webhook 调用必须包含用户的凭据以及任何其他必需的工作流参数。
- 每个需要用户凭据的节点都应使用一个表达式,以便该节点的凭据字段读取 webhook 调用中提供的凭据。
- 保存并发布工作流,确保为 Webhook 节点选择了生产环境 URL。更多信息请参阅 webhook 节点。
调用工作流(Call the workflow)#
对于每个新用户,或根据需要对任何现有用户,调用定义为工作流触发器的 Webhook,并提供必要的凭据(以及任何其他工作流参数)。
🌐 For each new user, or for any existing user as may be needed, call the webhook defined as the workflow trigger and provide the necessary credentials (and any other workflow parameters).